About IONOS VPS
IONOS provides cheap Linux VPS hosting with full root access and unlimited traffic. It also provides a KVM console to administer out-of-band if needed. The only problem is that it does not support FreeBSD; the only available options are Linux flavors. However, I found that installing and using FreeBSD 14 using the mfsBSD project is possible. Internally, IONOS uses the Microsoft Hyper-V platform, which FreeBSD supports.
Initial setup
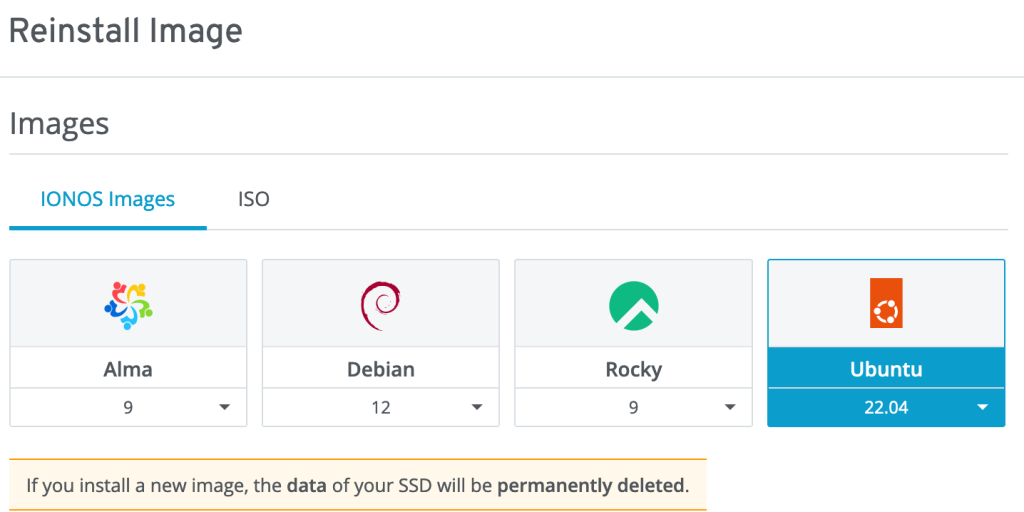
To install FreeBSD, we must choose any Linux option from the “Images” tab. I have chosen Ubuntu 22.04; however, any selection would likely work the same. Once installation is completed, go to the “Servers” tab, select your VPS, and use the “DVD Drive” menu, which allows you to boot the VPS from the recovery CD. Select “Debian 12” ISO and click "Load DVD.” Once done – open KVM using the “Actions -> Open Remote Console” menu. Go to the shell using the “Advanced Options -> Recovery” menu. Choose “Do not use a root file system” in the filesystem dialog and execute a shell. It will be used to install mfsBSD.

mfsBSD installation
First, we will install mfsBSD which would allow us to boot and install FreeBSD 14 using KVM.
From the Debian console download and write to the VPS disk mfsBSD 14 image:
wget https://mfsbsd.vx.sk/files/images/14/amd64/mfsbsd-14.0-RELEASE-amd64.img
dd if=mfsbsd-14.0-RELEASE-amd64.img of=/dev/vda
Go to the IONOS cloud panel and eject “Debian” ISO. Reopen the Remote Console; you should see FreeBSD booting. There will be a significant (~1 minute) delay after USB init, but the system should start normally after some time.
FreeBSD installation
Once mfsBSD starts, you can normally ssh the server (if IP is already assigned) using root/mfsroot credentials. Now the partition table is corrupt, and we need to fix it using the gpart recover vtbd0 command.
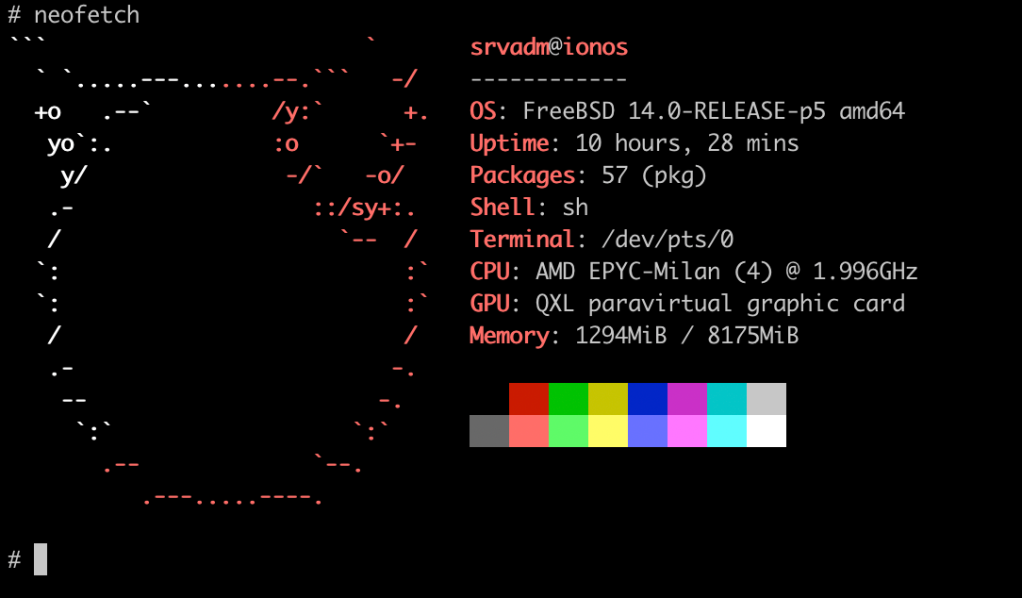
Run the bsdinstall command and use the vtbd0 disk to set up the system. I recommend removing original freebsd-ufs partition to avoid any traces of the mfsBSD setup. Follow the installation process normally, and use DHCP as a network option. Once installation is done, reboot the system, and FreeBSD 14 should start normally.
Reducing boot time
This is an optional step that impacts only boot time. FreeBSD spends significant time in USB stack initialization, which adds about 1 minute to the boot process. Also, it loads many “emulated” devices, such as floppy or serial controllers. According to kern.boottrace.log, the total measured time is 113579 msecs, about 2 minutes. To reduce this time, it is possible to use minimal kernel configuration.
First, we will need to install the src component and update the system:
fetch http://ftp.freebsd.org/pub/FreeBSD/releases/amd64/amd64/14.0-RELEASE/src.txz
tar -C / -xvf src.txz
freebsd-update fetch && freebsd-update install
Now let’s install MINIMAL kernel configuration:
cd /usr/src/
make buildkernel -j `sysctl -n hw.ncpu` KERNCONF=MINIMAL && make installkernel KERNCONF=MINIMAL
The ufs module must also be added to the /boot/loader.conf; otherwise, the system will not be able to boot. This is my /boot/loader.conf content:
kern.boottrace.enabled=1
autoboot_delay=1
ufs_load="YES"
Once done – reboot the system. Load time should be reduced from ~2 minutes to 5 seconds!
Enabling IPv6 and fixing “Bogus Host Name” warning
IONOS uses DHCPv6+rtsol to assign IP address and routing configuration for the IPv6.
First IPv6 address needs to be added to the IONOS control panel. Once it is done – the DHCPv6 client needs to be installed: pkg install dual-dhclient-daemon. This is my network configuration in /etc/rc.conf file to support both IPv4 and IPv6 with dynamic addresses:
ifconfig_vtnet0="DHCP"
dhclient_program="/usr/local/sbin/dual-dhclient"
ipv6_activate_all_interfaces="YES"
ipv6_defaultrouter="fe80::1%vtnet0"
Another small issue i found was dhclient[48327]: Bogus Host Name option 12: My_VPS (My_VPS) message every few minutes in the log. This is related to non-RFC compliant hostname returned by the ionos DHCP server. To ignore it – add /etc/dhclient.conf with a following content:
interface "vtnet0" {
  ignore host-name;
}
and restart DHCP client using service dhclient restart vtnet0 command.

This is it. I will keep this post updated in case of any other problems or optmisations found.